Spark School Administrator Help
To add multiple students, see Import Multiple Students.
Add a New Student
Click User Management in Spark.
Click New User +.
Enter the following information:
- First Name
User's given name.
- Last Name
User's family name.
Optional: An email address where Spark can send the user a link to set their password, or verify their identity if they forget their password.
- Role
Select Student.
- Username
The username for the account.
Usernames can include the following characters:
A B C D E F G H I J K L M N O P Q R S T U V W X Y Z a b c d e f g h i j k l m n o p q r s t u v w x y z 0 1 2 3 4 5 6 7 8 9 ~ ` ! @ # $ % ^ & * ( ) _ - + = { [ } ] | \ : ; " ' < , > . ? /- Password
Select Use the default institution password.
Or, select Send the student, or parent, an email with a link to set their password .
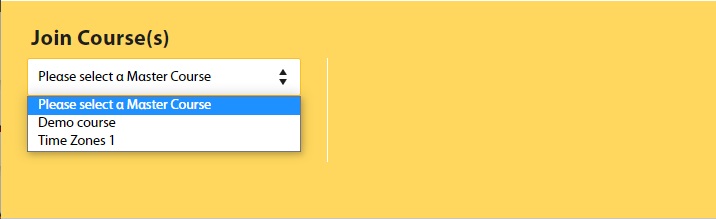
- Join Course(s)
Select the course you want to add the student to.
For the Online Placement Test, select General Online Placement Test.
- Upload an avatar
Optional: Upload an image that will appear with the user's account.
To let users upload or change their own avatars, turn on
 Allow upload/edit avatar.
Add the student to a course.
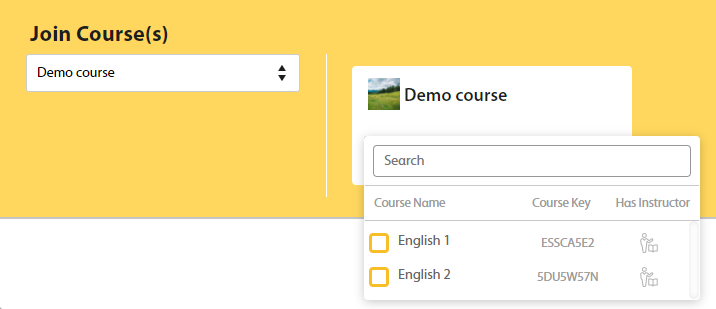
Select a course in Please select a Master Course.
Search for a course section, or select from available sections for that course.
Click Create.
The account is created and added to your course.
Add an Existing Student
Follow these steps to add a student with an existing Spark account.
Click Switch to teacher view in the top-right of the screen.
Click User Management.
Click Existing Users +.
Click the All Roles dropdown menu and select Students.
In the Search field, enter the first few letters of the student's name, username, or email address.
A list of matching students displays.
Scroll to the student you want and click Add.
The student is added to your course.