Spark School Administrator Help
Dynamic Lessons is your National Geographic Learning program formatted into slides. They contain teaching tools such as audio, video, and interactive activities. You can share the pre-made lessons or customize your own.
Video Tutorial: Customize and Share Dynamic Lessons
Click Switch to teacher view in the top navigation bar.
Click Class Content.
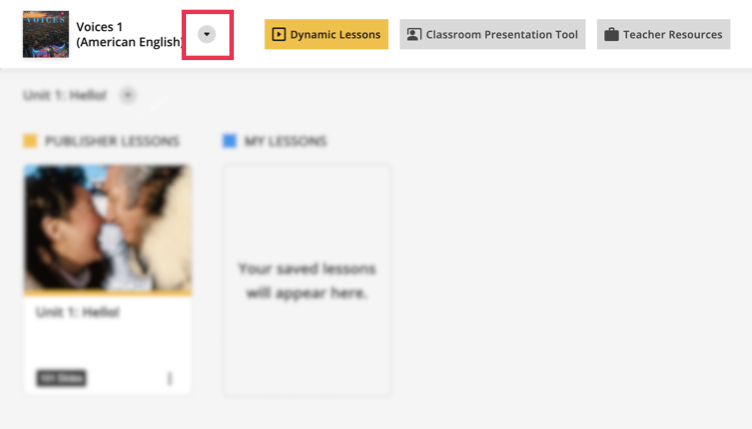
In the Class Content tab, select your program from the program dropdown menu.
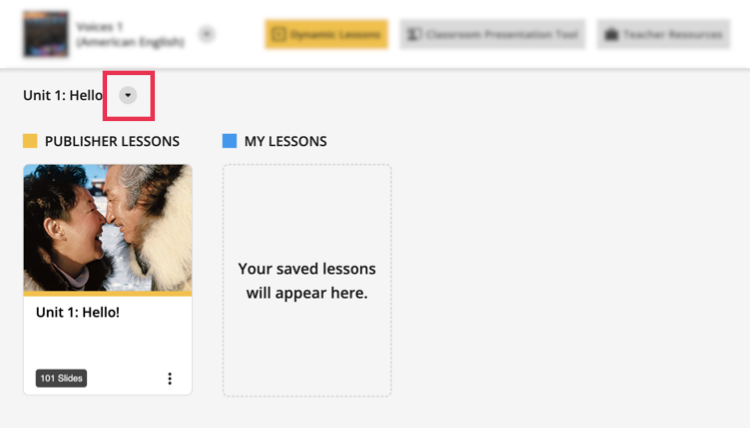
Select the Unit you want from the dropdown menu.
From here you can share Publisher Lessons, or customize a lesson and share that with your instructors.
Share Publisher Lessons
Under PUBLISHER LESSONS, click
 on the slides.
Click Duplicate.
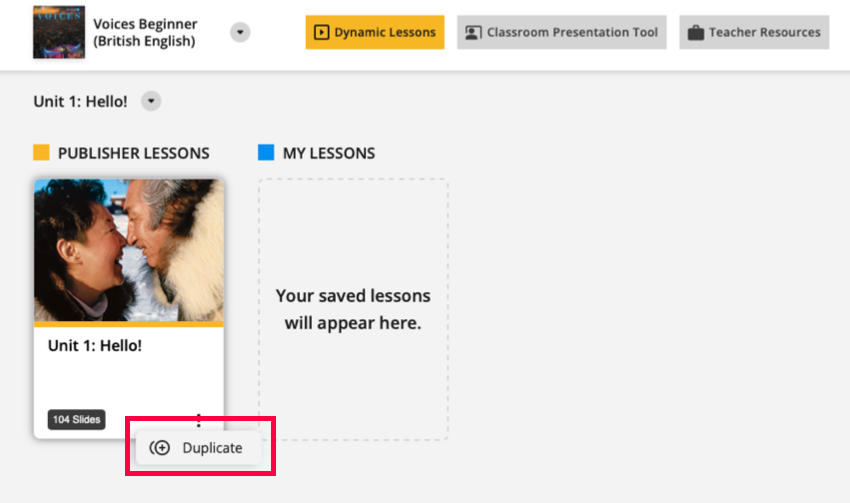
A copy of the slides is created under MY LESSONS.
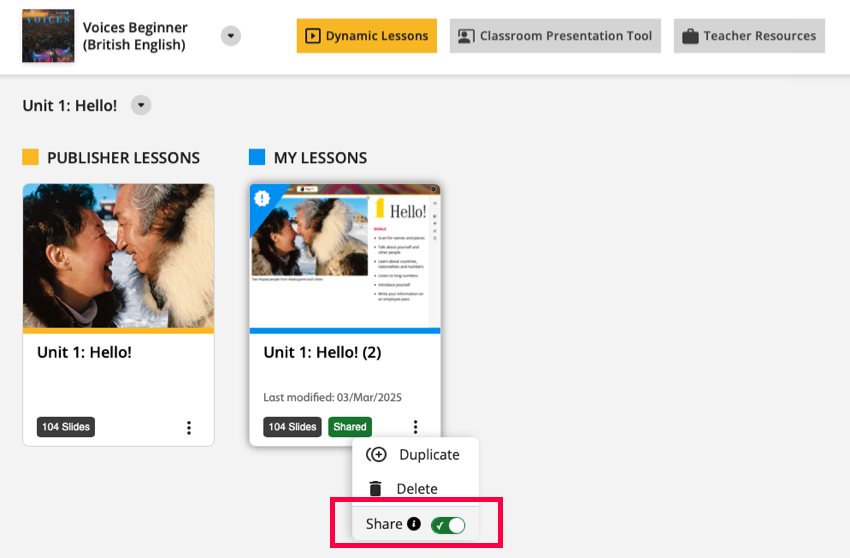
Under MY LESSONS, click
on the slides, and turn on  .
.
Share a Customized Lesson
Click the slides under PUBLISHER LESSONS.
To do this
Do this
Preview the content of a slide
Click the slide.
Rearrange the order of slides
Select the slide you want and move it to the position you want.
You can move the slide to a different position within that section, or to a different section.
Delete a section
Click
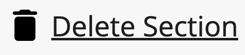 .
.Hide, delete, or copy a specific slide to another unit or lesson
Click
on that slide and select the action you want.When you delete a slide, it is removed from that lesson.
When you hide the slide, it will not display during presentation, but you can unhide it when you want.
Hide, delete, or copy multiple slides
- Click
 .
. - Select the slides you want to edit.
- Click Hide, Copy to, or Delete at the bottom of the page.
- Click
After you have customized a lesson, click
 next to the lesson name to navigate back to the Class Content tab.
Under MY LESSONS, click
on the slides, and turn on .