Spark Instructor Help
Go to the Support Portal and select the option that applies to you.
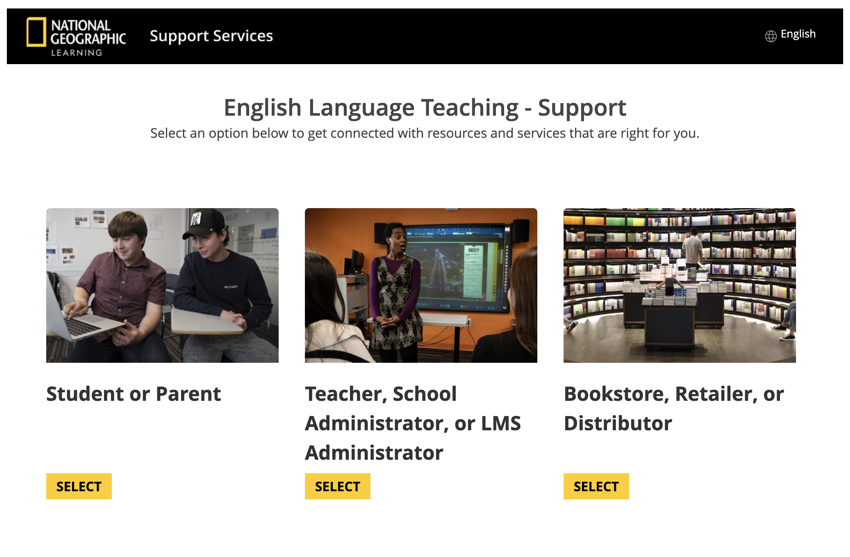
For information on how to change the support portal language with Google Translate, click Language in the top-right corner.
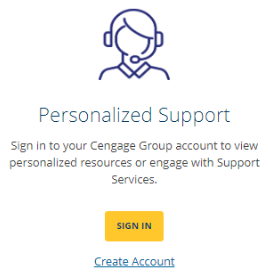
Sign in with your existing Cengage account or create a new account.
You may already have a Cengage account if you used another Cengage product (MindTap, WebAssign, CNOWv2). If you already have a Cengage account, sign in to that account.
Sign in with existing account:
Click Sign In and enter your username and password.
Create new Cengage account:
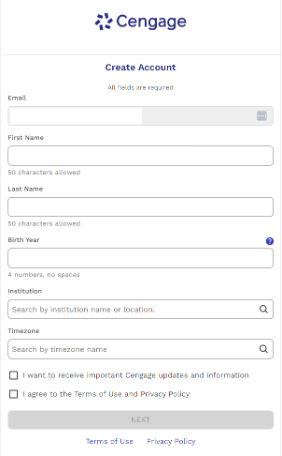
Click Create Account.
Enter your information and follow the instructions to create an account.
Cengage will send you an email to verify your account.
Go to your email and click the link to verify your account.
If you don’t receive an email, click Resend Email. Make sure to check your spam folder.
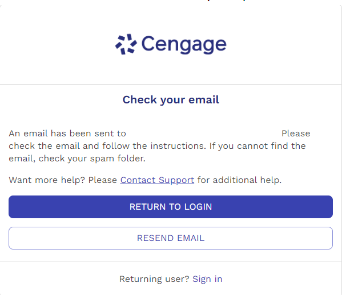
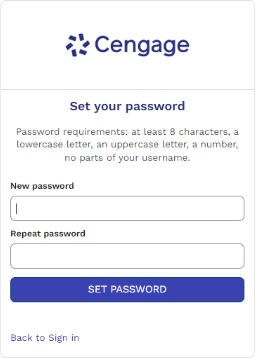
Create a password and sign in.
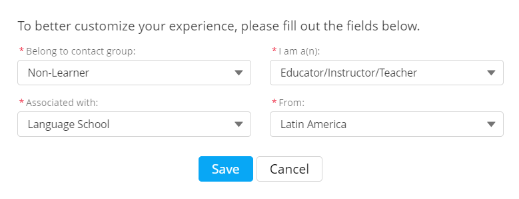
To provide a more customized support experience, select your region, persona, and affiliation using the dropdown menus. You can update this at any time in the My Profile menu.
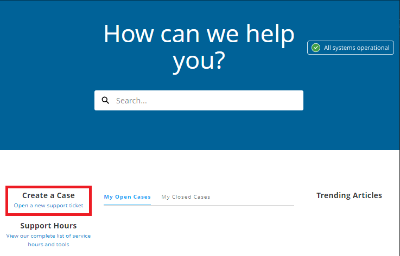
Click Open a new support ticket.
Select the Type of Problem that best describes why you’re contacting support. Click Next.
Click
 for details about each type of problem.
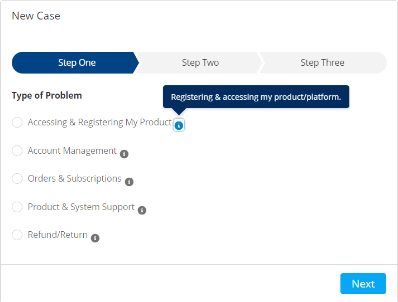
Fill out as much information as possible, including a subject and description of the issue. Click Next.
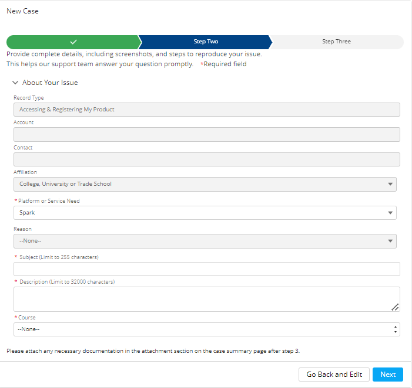
Review the case information and click Create Case.
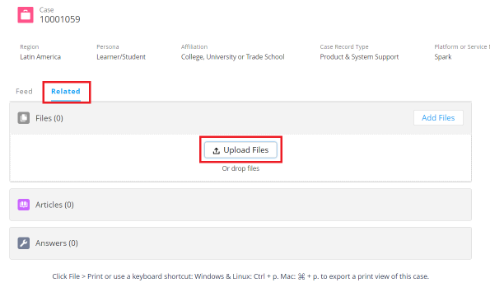
To add an attachment, such as a screenshot of your issue, go to the Related tab and click Upload Files.
The support team will email you when there’s an update to your case. Sign in to Support Portal to view the update and send additional messages to the support team.